
The aim of this guide is to teach you how to use Awesome Screenshot so you can make use of its useful features to create meaningful and highly suggestive screenshots.
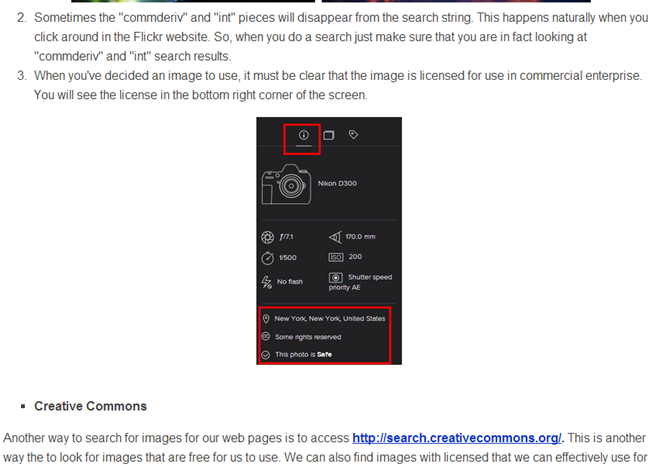
We use screenshots to illustrate steps in the how-to guides. The idea is to take a snapshot of a section of a web page that is relevant to the discussion.
This is helpful in directing readers to the exact page indicated in the instruction, thus it will give better comprehension and will save a lot of time as well.
Take a look at this for example:
We use Awesome Screenshot to easily take snapshots for our guides and posts. it is a tool that we can use to capture the whole page or portion of it directly through a browser. It also has other useful features to help us do the work conveniently.
Step 1. Get And Install Awesome Screenshot
This is available in Chrome, Mozilla and Safari browsers. You can follow these steps to guide you how to install Awesome Screenshot on your browser:
Awesome Screenshot Installation On Google Chrome
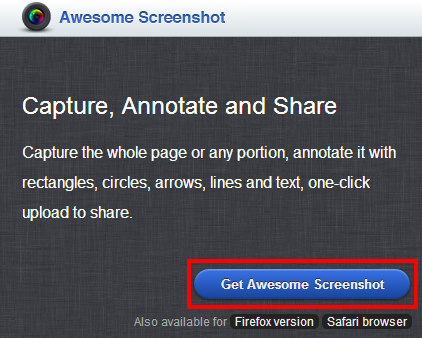
1. Go to http://awesomescreenshot.com/. Click on Get Awesome Screenshot button.
2. On the Google Chrome web store with the Awesome Screenshot screen, click on the + Free icon.

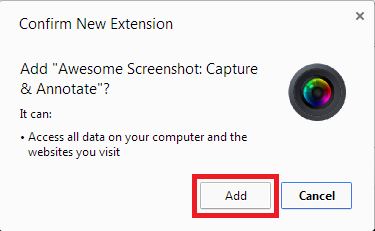
3. A Confirm New Extension pop-up will appear. Click on Add.
4. Any minute later, it’s listed as one of your browser extensions.
Awesome Screenshot Installation on Mozilla Firefox
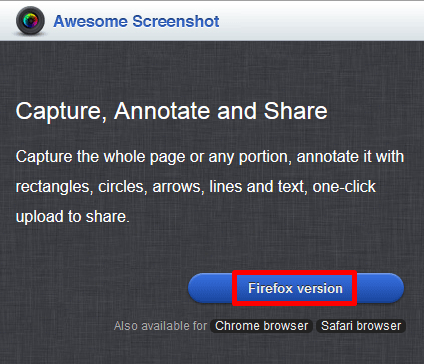
1. Go to http://awesomescreenshot.com/ and click on Firefox version button.
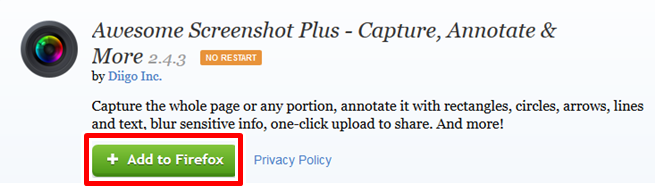
2. Once you’re on the Add-Ons page, click on the + Add to Firefox button for Awesome Screenshot.
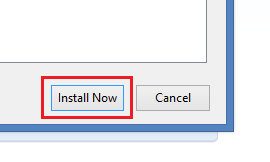
3. Click on Install Now.
4. Once installed, you can now see your Awesome Screenshot icon listed as one of your Firefox browser extension. It only has Capture Visible Part and Capture Full Page option though.

Step 2: Make A Screenshot
The good thing about using this tool aside from capturing screenshots directly from your browser is that it also has a lot of options to make it easier for you to add thoughts and emphasis.
You have several options on how to capture the screenshot that you want as well as add annotations.
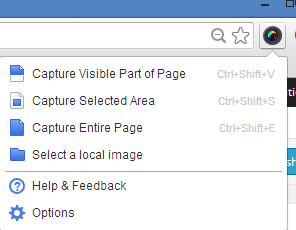
1. When you’re on the page that you want to capture, click the Awesome screenshot icon and choose from the following options. Most of the time, we use Capture Selected Area.
This will allow you to highlight only the portion that you want on the page.
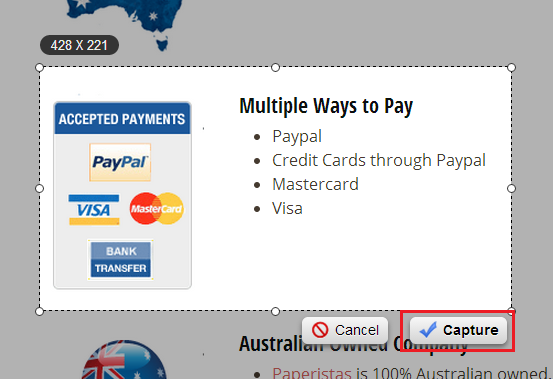
2. Highlight the portion of the page that you want to capture and then drag. Once you’re satisfied, click on the Capture button.
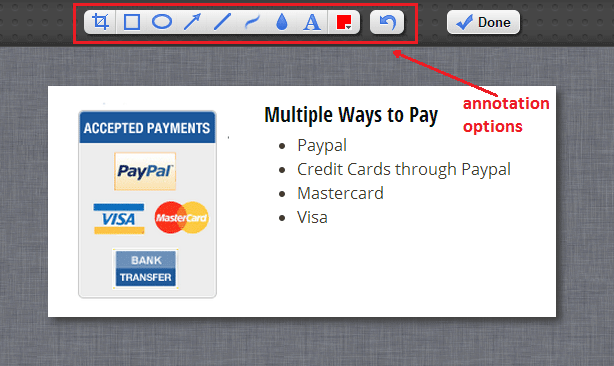
3. Once you’ve captured the screenshot, it will take you to a different window where you can edit and add annotations. Options include to cut, add rectangles, circles, arrows, lines and text annotations and an option to blur so to hide sensitive information on your captured screenshot. Click on Done button when you’re satisfied.
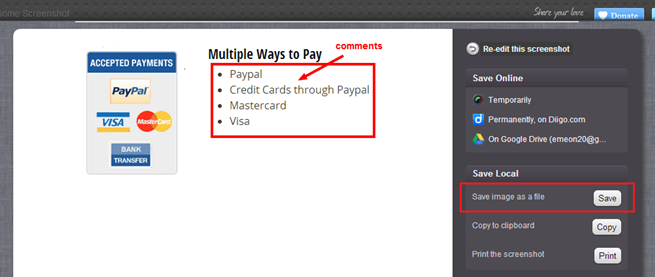
4. After clicking the Done button, different saving options are available. Most of the time, we save it locally or to our Google drive. Make sure to name the screenshot correctly following the guidelines.
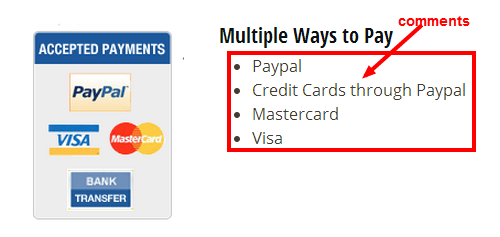
5. Your final screenshot will look like this:
Step 3: Open The Screenshots In PhotoScape
PhotoScape is a free editing tool that we can use to edit and enhance photos. We can use this to crop and resize images to desired pixels and set them to the required format.
You can download PhotoScape here.
- Open PhotoScape Editor on your computer.
- Browse for the folder location where the image is stored.
- Click the image to open the image on the Editor.
- Then you are ready to edit it, resize or enhance them.
- Click on Save. You’ll have the option to save the photo and back up the original image, save in the designated folder or save as a new file name.
Step 4: Use These Guidelines When Taking A Screenshot
- There is no need to grab the whole screen including menu and browser unless that is part of the information you want to display. Instead, try to target the screenshot to just the area of the web page that you are discussing in the how-to guide. Focus on the area of the screen that you want to show the readers and get rid of redundant ‘information’. This will also reduce the file size of the image, which means it loads faster in the user’s browser.
- Use arrows and circles to highlight areas in the screenshot.
- Use text to comment on areas of the screenshot, if necessary.
- Screenshot images should be no wider than 655 pixels.
- Save the file using a consistent format eg: screenshot-how-to-create-domain-godaddy.png
- Start with the word “screenshot” so we know it is a screenshot.
- Use hyphens (-) to separate the words, not underscores (_)
- Keep it all lowercase
- Use the name of the guide and the name of the site to identify what the screenshot is about.
- Check your spelling. No spelling mistakes in the file name as this will be read by the search engines.
- Screenshot files should always be supplied separately to articles. This means that they can be embedded in a content file, but it is useful to also have a separate copy that we can use when making the HTML pages.
Final Checklist
Awesome Screenshot is a free tool that we can use to capture screenshots and add annotations to it to make it more meaningful. Here’s a summary of what you’ll need to do to capture screenshots using Awesome Screenshot.
- Install Awesome screenshot
- Make a screenshot and add annotations
- Open and edit your screenshot in Photoscape
- And, take note and follow the listed guidelines