
The aim of this guide is to teach you, step-by-step, how to convert your guest articles to ready-to-use HTML format, so host bloggers can upload and publish them easily.
Sending approved guest posts to host bloggers is an exciting time for any guest blogger. You’ve written a great post about the topic that the readers will like and appreciate, and you’ve done thorough proofreading and editing to make it flawless for host bloggers and their audience.
It is easy to just send in your guest post to each host blogger on your opportunities list. But you can go further and be helpful by sending an HTML copy of your posts instead.
You need to know this guide because you want to be that guest blogger who goes an extra step further for the host blog. You want to publish your guest post quickly and efficiently through the host bloggers’ help while making it easier for them to do so.
Remember that you are asking a favor from host bloggers for letting you publish your work and allowing a link or two on your post.
So making it easier for them to publish and not drag or annoy them (while publishing the post) is a way for you to return the favor.
Step 1: Finalize Your Guest Post
Most bloggers use Microsoft Word because it has features such as spelling and grammar checker. Other bloggers use other types of word processing software similar to MS Word.
If you have done the automatic spelling check, it is time to finalize your post by proofreading and editing some parts that require them. Also, check for formatting issues if you haven’t already.
You can ask a friend to re-check since two pairs of eyes are better than one. Ask for feedback regarding the format, spelling, grammar, and construction of the post, and edit when necessary.
Step 2: Go to word2cleanhtml.com
Type in or copy and paste this link: Word2CleanHTML
This is a free, online-based MS Word-to-HTML converter that also strips invalid tags and leaves clean HTML which is ready to use for websites/blogs and eBooks.
Step 3: Copy and Paste the Content of Your Post
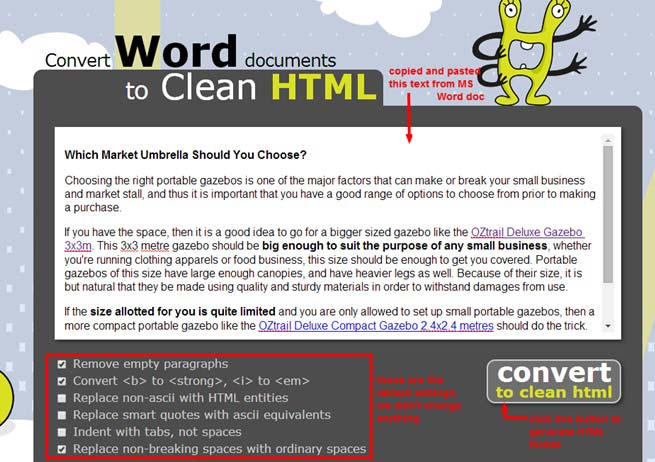
So, let’s pretend we’ll be sending this short post to a host blogger and we’ll use one product photo from the e-store.
Copy the content of your post from MS Word and paste onto Word2CleanHTML.
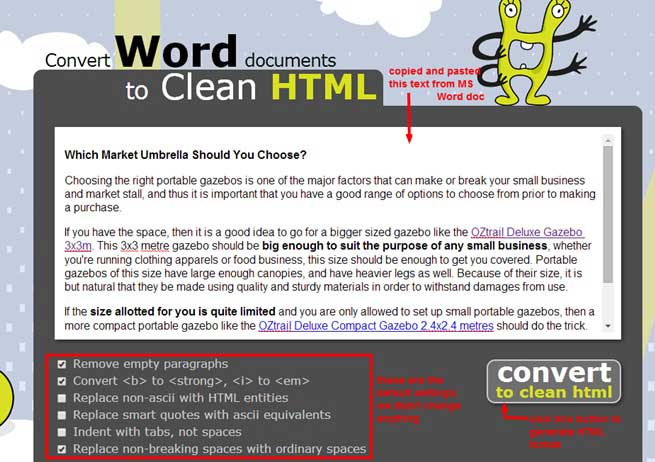
Step 4: Convert from Word to HTML Format
Click the button that says “Convert to clean HTML” (as shown on the screenshot above).
No need to change the default settings.
Step 5: Strip Out Unnecessary Tags
On the resulting “Clean HTML” text editor, you can strip out the P tags such as <p> and </p>.
On the screenshot below, we have already stripped away the P tags and what we are left with is this “cleaner” version of the Clean HTML format.
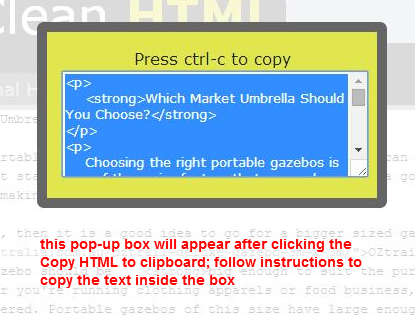
Step 6: Copy HTML to Clipboard
After cleaning or stripping out the unwanted tags, click the link below the editor that says “Copy HTML to clipboard”.
The pop-up box below will appear after you’ve done so. Just follow the instruction: press CTRL-C to copy the text inside the box.
Step 7: Paste the Copied Text onto a Notepad
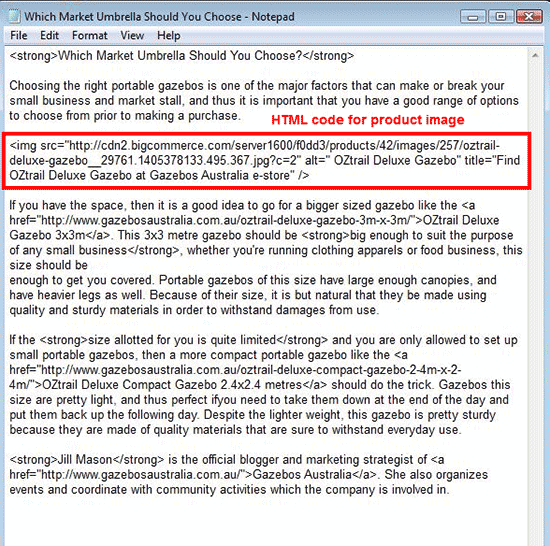
Paste the text you’ve copied onto a notepad. Save it using the post’s title as the file name.
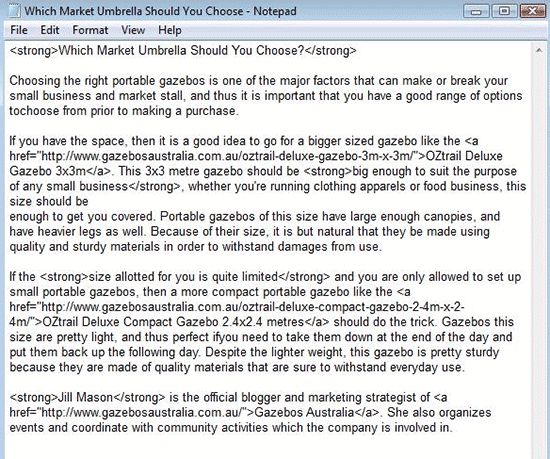
You can send this text document as it is to the host blogger. But if you are allowed to include a product photo, proceed with Step 8.
Step 8: Insert Image onto Your HTML-Formatted Post
Using an HTML code, you can easily insert your product image/photo onto your formatted post that’s already been copied onto a Notepad or text file.
But first, you must get the image URL of the product you’d like to insert.
- On the image/photo, right-click to open up the options
- Choose “Copy image URL“
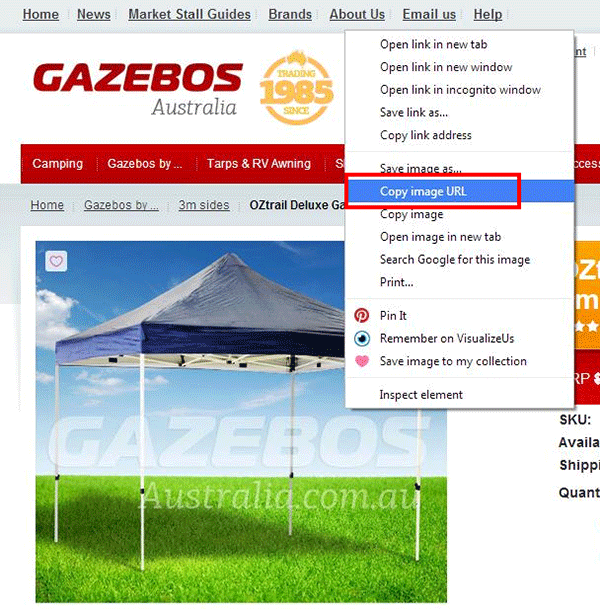
- Paste the image URL on a blank notepad or just beneath the content of your clean HTML
- You can choose between these two HTML codes for images:
Basic HTML: <img src=”URL of image” />
With descriptive text: <img src=”URL of image” alt=”alternate text” title=”descriptive text” />
URL of image: https://cdn.shopify.com/s/files/1/2716/8860/products/gazebo-australia-thumbnail-oztrail-deluxe-3.0-blue-canopy-3m-x-3m_1024x1024.jpg?v=1525357984
alternate text: OZtrail Deluxe Gazebo
descriptive title: Find OZtrail Deluxe Gazebo at Gazebos Australia e-store
Using the basic HTML code:
[code]<img src=”https://cdn.shopify.com/s/files/1/2716/8860/products/gazebo-australia-thumbnail-oztrail-deluxe-3.0-blue-canopy-3m-x-3m_1024x1024.jpg?v=1525357984″ />[/code]
Using the HTML code with descriptive text:
<img src=”https://cdn.shopify.com/s/files/1/2716/8860/products/gazebo-australia-thumbnail-oztrail-deluxe-3.0-blue-canopy-3m-x-3m_1024x1024.jpg?v=1525357984″ alt=” OZtrail Deluxe Gazebo” title=”Find OZtrail Deluxe Gazebo at Gazebos Australia e-store” />
- Choose the final HTML code for your product image.
- On your notepad, determine the section you want to insert the product image in.
- Copy and paste the HTML code onto the designated section of your guest post.
Step 9: Check the HTML Format of Your Post

To be absolutely sure that your clean HTML-formatted guest post doesn’t have an error, it is best to check it using your own blogging platform.
Most bloggers today use WordPress as their blogging platform with their own domain name and hosting.
If you are also using WordPress for your own blogs, you can open it to check your guest post HTML format.
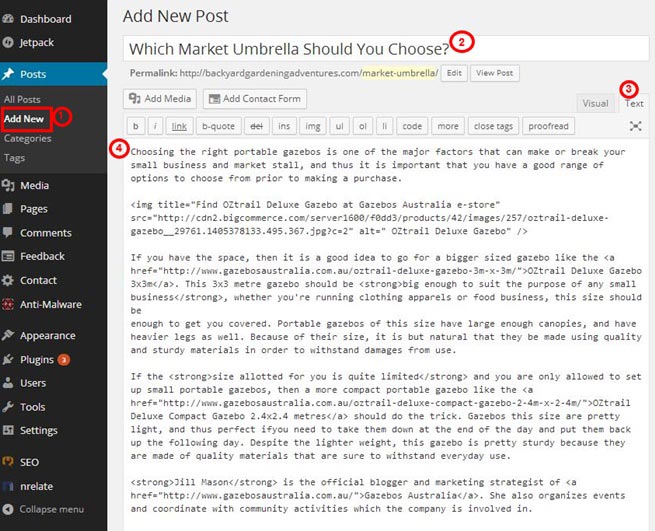
- On your WordPress dashboard, choose Add New Post.
- Copy and paste the post title onto the title box (do not include any HTML code if there’s any).
- Choose Text to open the text editor pane.
- Copy and paste your guest post’s clean HTML text onto the blank Text editor.
Click Visual to see the preview of the post within the dashboard.
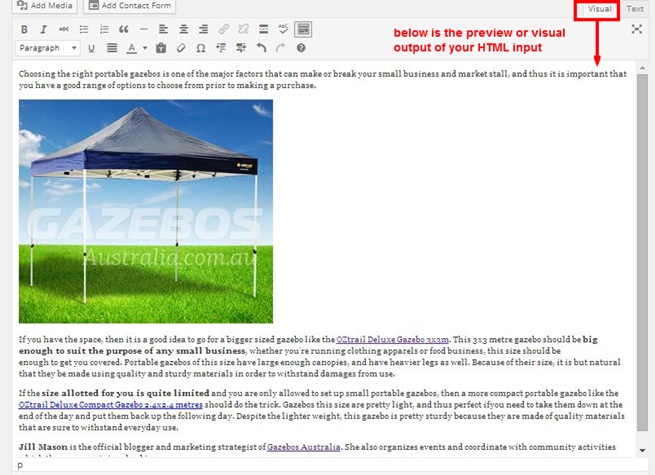
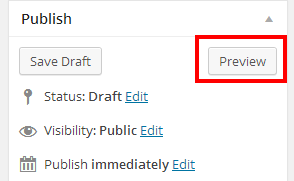
You can also check the live preview of your guest post by clicking the Preview button at the upper right-hand side of your WordPress dashboard.
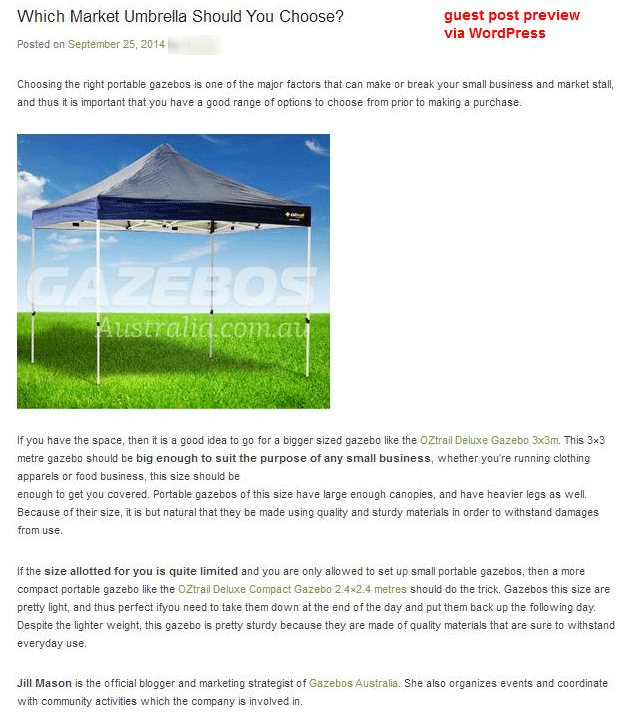
Below is what your guest post will look like using the clean HTML format you’ll send to the host blogger.
Step 10: Send Your HTML-Formatted Guest Post
Send an email to the guest blogger with the attached notepad/text file of your HTML-formatted guest post. Don’t forget to thank him/her first and foremost for the opportunity.
If you wish to go further and provide a backup file, you can also send in an image file of the product photo and Word document of your post. You can attach all of your files using a .zip folder.
Final Checklist
Guest posting to a host blog can be a successful feat and you can even help make the host blogger’s life a little easier by sending in an HTML format of your post.
This format is ready to copy and paste onto the blogging platform using the ‘text’ or HTML pane. It is also a way to return the favor to the host bloggers which, in turn, can create a more positive relationship with them.
- Check your guest post draft for grammar, spelling, formatting errors.
- Ask someone to re-check your post before finalizing the copy.
- Go to word2cleanhtml.com – a free, web-based Word to HTML converter.
- Convert guest post content from Word to HTML using http://word2cleanhtml.com/ converter.
- Strip out unnecessary tags, specifically the P tags.
- Copy HTML to the clipboard, then, paste onto a Notepad.
- Insert image onto the formatted post with HTML code.
- Check if the HTML format works by using a blogging platform such as WordPress.
- Check the live preview to be sure.
- Send the guest post draft and backup files to the host blogger.
1 Comment
It’s actually a great and useful piece of information. I am glad that you shared this useful info with us. Please keep us up to date like this. Thanks for sharing.